Color grading is more than just making a video look pretty. It’s about shaping emotion, guiding the viewer’s eye, and telling a story without words. For years, this has been a meticulous, hands-on craft. It involves endless tweaks to curves, wheels, and saturation levels. So, when AI tools promising one-click cinematic grades started popping up everywhere, I was skeptical. The idea of an algorithm trying to interpret the mood of a scene felt like a shortcut that would strip the soul from the footage. But the claims of saving hours on tedious tasks were too tempting to ignore.
My name is Zain Mhd. For the past five years, I’ve been working deep in the world of digital media, and like many of you, I’ve watched the rise of AI with a mix of curiosity and caution. I’m not a data scientist, but I am passionate about finding practical ways to use new technology in my creative work. This has led me to spend years experimenting with various AI tools, figuring out what’s genuinely useful versus what’s just clever marketing. My goal has always been to share what I learn, helping others understand these complex topics in a clear, straightforward way. This article is a direct result of that hands-on testing.
The Starting Point: Why I Was Cautious About AI Color Grading
Before diving in, let’s be honest about the art of color. A great color grade is subjective and deeply tied to the narrative. It’s the difference between a scene feeling warm and nostalgic or cold and unsettling. My biggest fear was that AI would homogenize this process. I imagined it would apply a generic “Hollywood Teal and Orange” look to everything, completely missing the unique story I was trying to tell.
The craft involves subtle decisions that an algorithm might not understand. For example, slightly desaturating a background to make a character pop, or adding a hint of green to the shadows to create a sense of unease. These are creative choices. I worried that handing over the reins to an AI would mean losing that crucial layer of human artistry and control. The initial hype felt like it was aimed at beginners, not professionals who have spent years developing their eye for color.
My First Experiments: Putting AI Tools to the Test
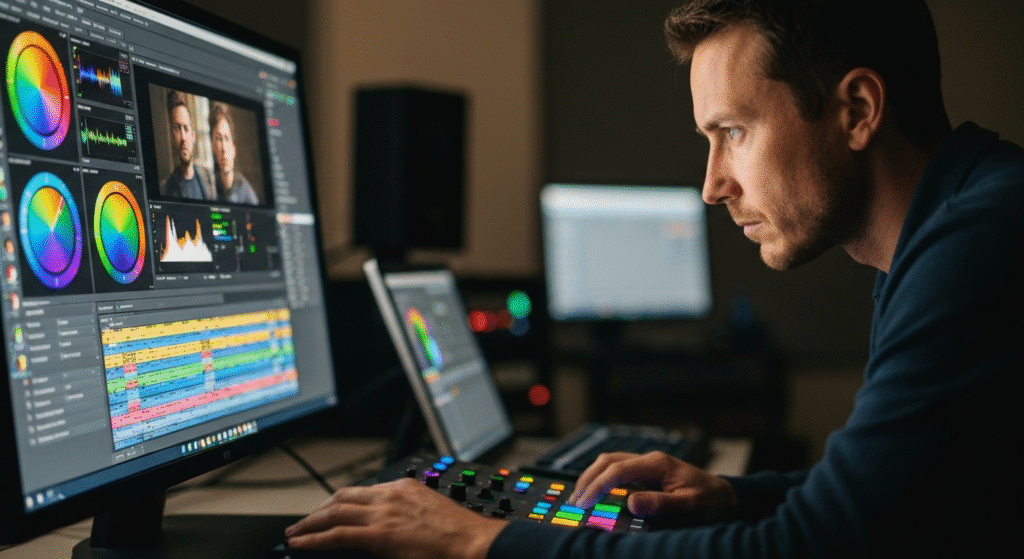
My curiosity eventually won. I decided to start with a few well-regarded plugins and built-in AI features within my existing software, like DaVinci Resolve and Adobe Premiere Pro. I didn’t want to completely change my workflow, but rather see where AI could act as an assistant.
My criteria for testing these tools were simple:
- Integration: How well does it fit into a professional workflow I already use?
- Control: Can I easily override or tweak the AI’s suggestions?
- Speed: Does it actually save a meaningful amount of time?
- Results: Is the quality good enough for professional projects?
I started with a simple project: a multi-camera interview shoot. The lighting was slightly inconsistent between the two camera angles. Normally, I’d spend a good 20-30 minutes manually matching the exposure, white balance, and saturation of each clip. Instead, I tried an AI-powered shot matching feature. In literally two clicks, the tool analyzed the reference shot and applied corrective settings to the other. It wasn’t perfect, but it was about 90% of the way there. A few minor tweaks later, and the shots were perfectly matched. That’s what first opened my eyes to the real potential here.
The Real Wins: Where AI Genuinely Accelerated My Workflow
After several projects, from corporate videos to short documentaries, I found a clear pattern. AI shines brightest when it handles the tedious, technical tasks, freeing me up to focus on the creative side of grading. Here’s where it has become an indispensable part of my process.
Shot Matching Across Different Cameras
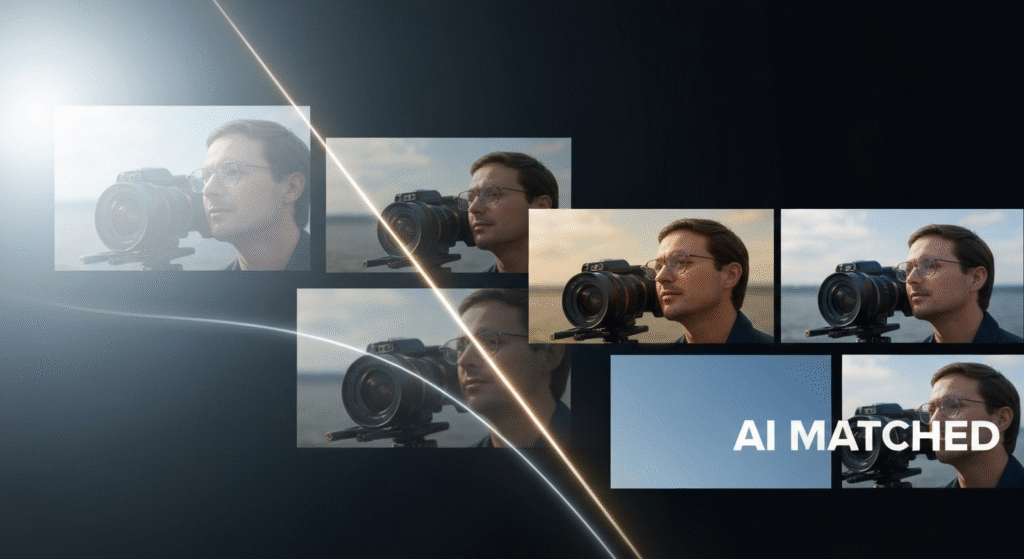
This is, without a doubt, the biggest time-saver. If you’ve ever edited a project shot on different cameras (say, a Sony A7S III and a Blackmagic Pocket 6K), you know the pain of matching their different color sciences. AI-powered shot matching tools are phenomenal at this. They analyze the color and tonal information of a reference clip and apply a transform to other clips to match them.
Real-World Example: I recently worked on a wedding video. The main shots were on my primary camera, but we also had a second shooter with a different brand. The skin tones and the color of the bride’s dress looked completely different between the two. The AI shot match tool neutralized these differences in under a minute, creating a consistent look across the entire timeline. It handled the complex science of color space conversion, which would have taken me much longer to get right manually.
| Task | Manual Process (Estimated Time) | AI-Assisted Process (Estimated Time) | Key Difference |
| Exposure Matching | 5-10 minutes per clip pair | < 1 minute for a batch of clips | AI analyzes histograms and matches luminance levels automatically. |
| White Balance | 5-10 minutes per clip pair | < 1 minute for a batch of clips | AI identifies neutral tones (whites, grays) and aligns them instantly. |
| Color Science Sync | 15-30+ minutes | 1-2 minutes | The AI applies a corrective LUT or color space transform to sync footage. |
Initial Balancing and Technical Corrections
Every colorist knows that the first step is always creating a clean, balanced image. This means correcting white balance, setting proper exposure, and managing contrast. This is the “primary” correction phase. AI is fantastic at this because it’s a technical, data-driven task. Many tools now have an “auto-balance” feature that analyzes the image and sets a neutral foundation.
This doesn’t mean the grade is finished. In fact, it’s just the starting point. But getting to that neutral base used to be a manual process of tweaking lift, gamma, and gain. Now, AI gives me a perfect starting point, so I can jump right into the creative “secondary” grading, where I add the actual look and feel.
AI-Powered Masking and Tracking
This feature feels like magic. In the past, if I wanted to brighten a person’s face or change the color of the sky, I would have to create a mask and then painstakingly animate it frame by frame (rotoscoping). It’s incredibly time-consuming.
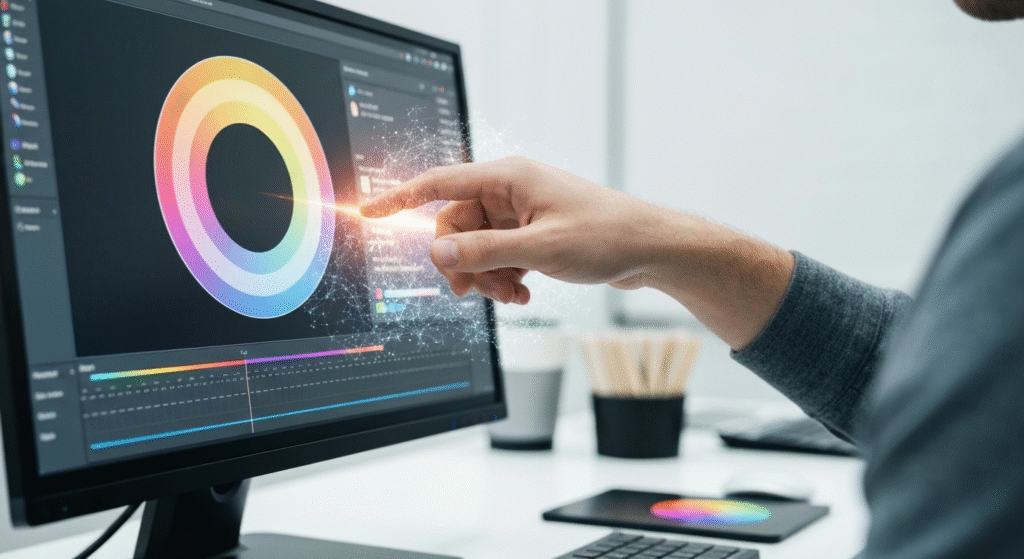
Tools like DaVinci Resolve’s Magic Mask use AI to identify and track objects, people, or even specific features like faces and clothing. You just click on the object, and the AI automatically creates a tracked mask for the entire clip. This has saved me countless hours. I can now easily isolate a subject to make them pop or selectively desaturate a distracting background color without any tedious manual work. It allows for a level of precision that was once reserved for projects with huge budgets.
The Hype Trap: AI Features That Fell Short
It wasn’t all perfect. While AI is great at the technical stuff, it often stumbles when it comes to creative interpretation. This is where I learned you have to remain in the driver’s seat.
Generic “Creative Look” Generation
Many AI tools offer to generate a “cinematic look” based on a text prompt or an analysis of your footage. I experimented with these extensively and was consistently underwhelmed. The looks often felt generic, like a slightly modified Instagram filter. They lacked the nuance and purpose that a human colorist brings to the table.
For example, on a documentary about a local farmer, I wanted a warm, earthy, and slightly gritty look to reflect his connection to the land. The AI suggestions were all over the place—from cold, blueish tones to oversaturated blockbuster looks. None of them captured the specific emotion of the story. The AI can’t understand context or subtext. That remains a purely human skill.
| Feature | The Promise (Hype) | The Reality (My Experience) |
| One-Click Looks | Instantly apply professional cinematic grades. | Results are often generic and don’t match the project’s unique mood. |
| Mood Matching | AI analyzes the scene and applies a color palette that matches the emotion. | The AI’s interpretation of “emotion” is very basic and often misses the mark. |
| Reference Grading | Make your footage look like a still from your favorite movie. | It can get the general color palette right, but fails to adapt it to your specific lighting and composition. |
My Evolved Workflow: How I Blend AI and Artistry
Through trial and error, I’ve developed a hybrid workflow that gives me the best of both worlds: AI’s speed for technical tasks and my creative vision for the final look.
- Step 1: The Vision (Human). I start the same as always. I watch the entire project, talk with the director or client, and develop a clear artistic direction for the color. I create a mood board and define the emotional arc of the story.
- Step 2: The Technical Assist (AI). Once I’m in my color grading software, I let the AI do the heavy lifting. I use it to perform a first pass: matching all the shots and applying a basic primary correction to balance everything. This creates a consistent, neutral timeline.
- Step 3: The Creative Grade (Human). With the boring stuff out of the way, I can dive into the fun part. This is where I build the actual look. I apply my secondary grades, create custom palettes, and shape the light and color to serve the story we defined in step one.
- Step 4: The Finishing Touches (AI & Human). If I need to do any complex masking—like brightening an actor’s eyes or toning down a bright logo on a shirt—I use AI-powered masking tools. The final review and any subtle tweaks, however, are always done by eye.
This process allows me to get to the creative work faster. Instead of spending the first half of my session on tedious corrections, I can now spend more time experimenting with different looks and refining the emotional impact of the grade. You can learn more about AI in creative fields from sources like Adobe’s research blogs, which often showcase emerging technologies. (Source: Adobe Research)
Frequently Asked Questions (FAQs)
Can AI completely replace a professional colorist?
No, not at all. AI is an incredibly powerful assistant for technical tasks, but it can’t understand story, context, or subtext. The creative decision-making and the ability to translate a director’s vision into a specific look remain uniquely human skills.
What is the best software for AI color grading?
Many professional programs now include excellent AI features. DaVinci Resolve is a leader in this space, especially with its AI-based Magic Mask and shot matching. Adobe Premiere Pro’s Auto Color and Scene Edit Detection are also very powerful. The “best” one depends on your existing workflow.
Does using AI make my color grading less creative or authentic?
Not if you use it correctly. If you just apply a one-click AI look and call it a day, then yes. But if you use AI as a tool to handle the repetitive, technical work, it actually frees you up to be more creative. It gives you more time and mental energy to focus on the art of color.
Is there a big learning curve for these AI tools?
It varies. Basic features like “auto-balance” are incredibly simple and require just a single click. More advanced tools like AI-powered masking have a slight learning curve, but they are far easier and faster to learn than traditional, manual rotoscoping techniques.
Conclusion: AI is an Assistant, Not the Artist
My journey with AI in color grading began with skepticism and ended with a new appreciation for it as a powerful collaborator. It hasn’t replaced my artistic judgment; it has enhanced it. By automating the most time-consuming and technical parts of the process, AI has given me back my most valuable resource: time.
The tools that promised to do the creative work for me were the most disappointing, while the ones designed to be smart assistants were game-changers. The future of color grading isn’t about letting a robot pick the colors. It’s about a partnership where AI handles the science, so we humans can focus on the art. For any video professional on the fence, I’d say this: don’t be afraid of the technology. Embrace it as a tool, stay in control of the creative vision, and you’ll find it can elevate your work in ways you might not expect.